I’ve looked at LibreNMS in several other posts over the last few weeks. LibreNMS a great SNMP based network monitoring tool with super easy setup, and a massive range of notification types. Today I’ll look at how to add a user and assign them rights to monitor some devices.
LibreNMS supports a number of user permission levels which I’ve detailed below. We’ll be looking at the Normal User type which provides the most possibilities.
[table tablesorter=”true” caption=”LibreNMS User Types”]
User type, My description
Normal User, Has no access to any device unless specifically granted in the Permissions section. The user will have read-only access to any device, port or billing record assigned to their account.
Global Read, Has read only access to all devices. Possibly the most commonly used access type.
Administrator, Full admin rights.
Demo User, No idea.
[/table]
Create a new user
- First up, lets create a new user. Click on the cog icon in the top right corner and choose Add User.

- Enter the user details. Set the Level drop down to Normal User. This will prevent the user from seeing any devices unless you specify them in the permissions section later on. Click Add User.

- Click on the Settings menu again and choose Edit User. Select your user and click Edit Permissions.
- You can now add access rights to individual devices, individual ports, or to billing records. Service checks aren’t a current option but any user, regardless of permissions, will have access to the Services tab as it’s read only by nature.

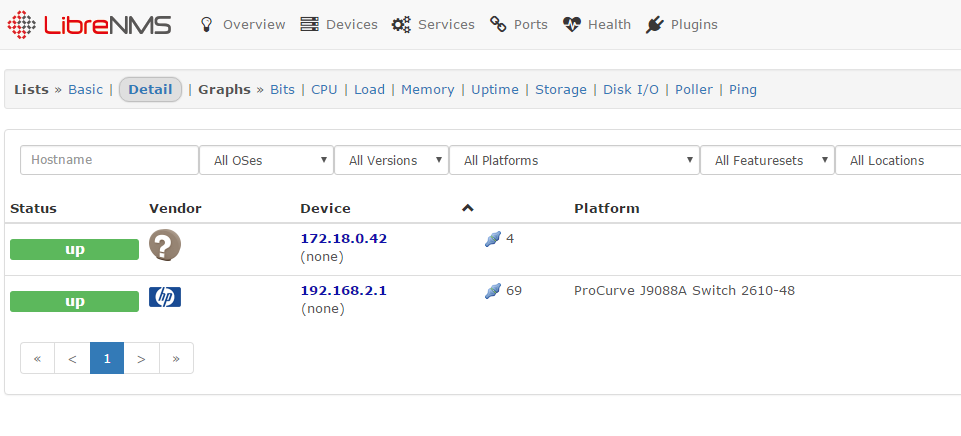
- So if I assign a few devices to Mr Test and then I log in using my test account you can see that Mr Test can only access those few devices.