Communication with your clients is vital, we all know that, and email communication is still the best way of getting information out to your clients as quickly as possible. You might know that Connectwise can send out emails en mass using it’s Marketing Manager module but did you know it can also let you track the number of emails that get opened? Here’s a quick guide to show you how to get up and running.
We’re going to be looking at enabling the Emails Opened and Linked Clicked elements of the Marketing Campaign module. You can see these if you go to Marketing > Marketing Campaign and then you’ll see the figures on the campaign screen.

Set up the Integration Login in Connectwise
Anything that uses the Connectwise API will require an integration account in order to access your data.
- In Connectwise go to System > Setup Tables. Search for Integrator Login.
- Click the + icon to create a new login.
- Give your login a username and password and make a note of this somewhere safe, you’ll need this each time you create a campaign which you want to track.
- Set the access level to All Records.
- Tick the Marketing API tick box further down the page.
- Save your way back out to the Setup Tables page.
[nextpage title=”Create the PHP files”]
Create the PHP files
We’ll be using the free tool at JoomConnect.com which will present you with a form that needs completing. You’ll then get two files, one to track email opens and one to track links clicked, and also two URLs, one to track email opens and one to track links clicked.

The JoomConnect form which will do the nitty-gritty.
- Enter two file names in to the first two text boxes of the form. These will be used to create the PHP files which will be uploaded to your website. Lets use mywelcomecampaign-clicks and mywelcomecampaign-opens.

- Enter the URL where these two PHP files will be found. If you are storing them on the root of your website then you would enter http://www.mywebsite.com

- Next enter the Integrator username and password that you created above.

- Enter your company name. This has to match the company name which you use on the Connectwise logon screen.

- Finally enter your connectwise server URL. We use the CW cloud servers in the EU so I’ll use that URL here.

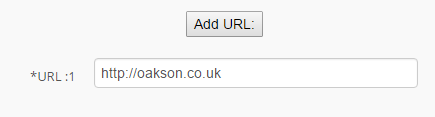
- Click the Add URL button. You will be prompted for a URL. This is the URL that your email recipients will be sent to when they click on the link in your email. So in our case, I’m going to create an email asking people to click on a link to view our website. My target URL will be http://oakson.co.uk.
- Click Save Form to generate the files.
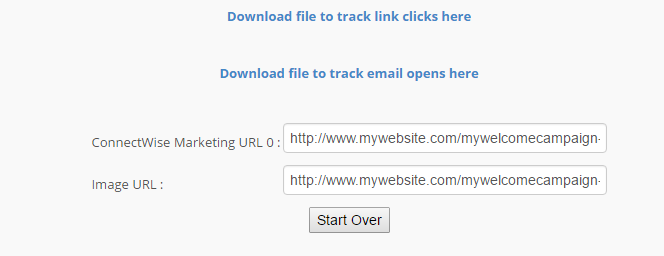
- Click on both of the download links. You’ll get two PHP files, one for tracking opens and one for tracking links. Make a note of the two URLs. Again, one is for tracking opens and one is for tracking link clicks.
[nextpage title=”Putting it together”]


So now you’ll have the two URLs. Each will point to one of the PHP files which in turn will call the Connectwise API and update your campaign stats, before redirecting your users to their ultimate destination. In the case of the email open PHP file, it will return a 1×1 px image that will be used to track when the user opens the email.
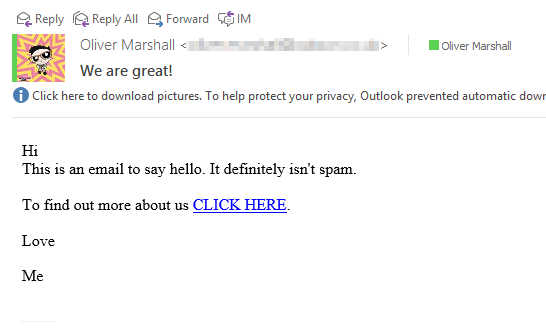
I’m going to send my clients the following email.
Hi

This is an email to say hello. It definitely isn't spam.

To find out more about us CLICK HERE.

Love

Me
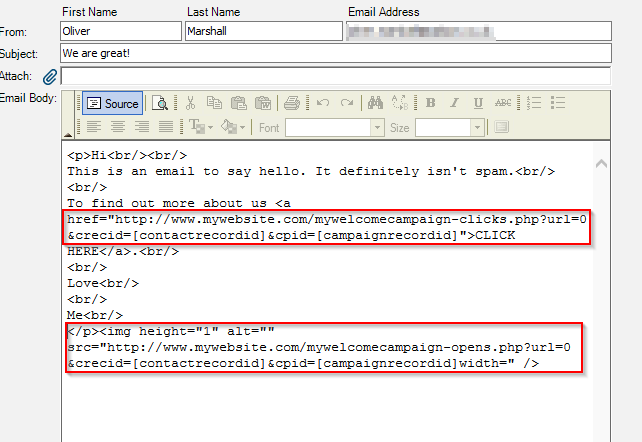
And to do this I’m going to use the following HTML.
<p>Hi<br />
<br />
This is an email to say hello. It definitely isn't spam.<br />
<br />
To find out more about us <a href="http://www.mywebsite.com/mywelcomecampaign-clicks.php?url=0&crecid=[contactrecordid]&cpid=[campaignrecordid]">CLICK HERE</a>.<br />
<br />
Love<br />
<br />
Me<br />
</p><img alt="" height="1" src="http://www.mywebsite.com/mywelcomecampaign-opens.php?url=0&crecid=[contactrecordid]&cpid=[campaignrecordid]width=" />
The Click Here link takes the user to one of our previously created PHP files which in turn updates the campaign in Connectwise and redirects them to the URL we specified. The IMG tag at the end of the email does nothing other than show a blank 1px image. When this is served up to the email client the PHP file that the tag links to will update the campaign in Connectwise and send back the image. However this aspect will only work if the recipient has their email client set to show images.
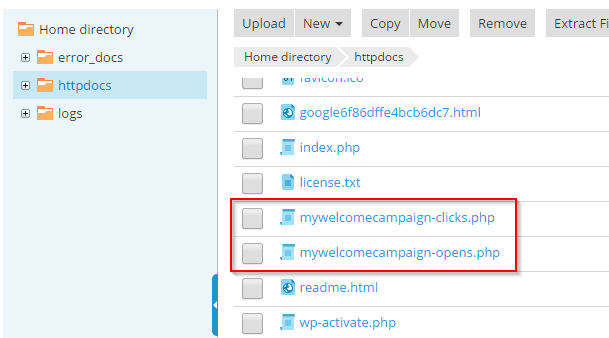
- First off, let’s upload the two PHP files to our website. In the examples I’ve given they need to be accessible on the root of your website (ie www.mywebsite.com/<name of php here>.php). We use Plesk but you can use FTP, Plesk WordPress, Whatever.
- So with that done, let’s go to the Marketing Manager and choose our victims…err…I mean targets. Time to pen the email. In this example I’ll copy in the text from my highly artistic marketing email above. Don’t forget to associate the marketing email with a Campaign in the top right corner. It’s the campaign that will be updated when a user clicks the link in the email.

Our email before the HTML is applied
And here’s the HTML
- Send the email – perhaps to yourself as a test – and click the link.
- Once the page loads you can pop back to your Marketing Campaign and you should see that the Links Clicked tab now has entries.


[embedyt] http://www.youtube.com/watch?v=_l2TYrlFj0M[/embedyt]